
Overview
Every published project gets a Faces subdomain on an auto-generated address (e.g.,ocean-falcon-42.faces.site/my-deck). On any paid plan, you can create a branded custom subdomain (e.g., acme.faces.site) or connect your own domain, like yourname.com or slides.yourcompany.com.
Step 1: Add your domain in Faces
- Open your project in the editor
- In the Publish tab, open the hostname dropdown and click Manage domains
- Select New domain → Custom Domain
- Enter your domain and click Connect
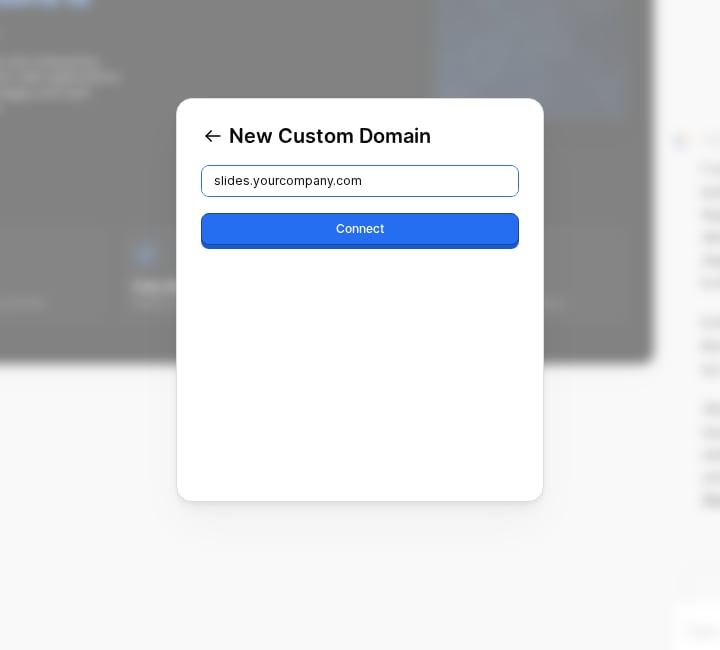
Faces handles SSL certificates automatically, so there is no need to buy or configure them separately.
Step 2: Add the DNS records
After connecting, Faces shows a Domain Setup screen with the DNS records you need to add. These may include A records, CNAME records, or TXT records for verification.- Log in to your domain provider (Namecheap, GoDaddy, Cloudflare, etc.)
- Go to your domain’s DNS settings
- Add each record exactly as shown in the Faces dashboard
- Save your changes
Step 3: Verify the connection
DNS propagation usually takes a few minutes but can take up to several hours. Once propagation completes:- Go back to the Faces dashboard
- Click Refresh to check the connection status
- Once verified, your domain is live
Subdomains
In addition to custom domains, you can customize your Faces subdomain. For example, changeocean-falcon-42.faces.site to my-brand.faces.site. Edit this in the Manage domains section.