> ## Documentation Index
> Fetch the complete documentation index at: https://faces.app/docs/llms.txt
> Use this file to discover all available pages before exploring further.
# Custom Domains
> Connect your own domain to publish projects on a memorable, branded URL.
## Overview
Every published project gets a Faces subdomain on an auto-generated address (e.g., `ocean-falcon-42.faces.site/my-deck`). On any **paid plan**, you can create a branded custom subdomain (e.g., `acme.faces.site`) or connect your own domain, like `yourname.com` or `slides.yourcompany.com`.
## Step 1: Add your domain in Faces
1. Open your project in the editor
2. In the **Publish** tab, open the hostname dropdown and click **Manage domains**
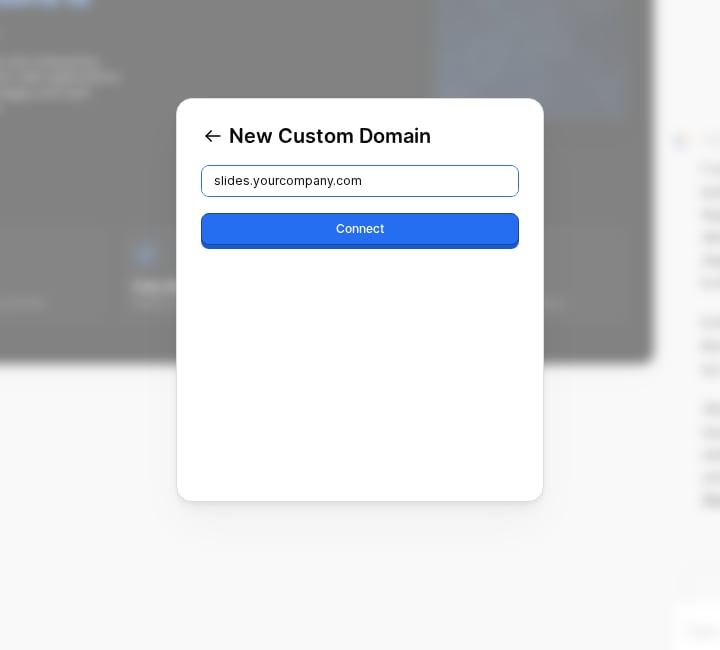
3. Select **New domain → Custom Domain**
4. Enter your domain and click **Connect**
 Faces handles SSL certificates automatically, so there is no need to buy or configure them separately.
## Step 2: Add the DNS records
After connecting, Faces shows a Domain Setup screen with the DNS records you need to add. These may include A records, CNAME records, or TXT records for verification.
1. Log in to your domain provider (Namecheap, GoDaddy, Cloudflare, etc.)
2. Go to your domain's DNS settings
3. Add each record exactly as shown in the Faces dashboard
4. Save your changes
**Where to find DNS settings in common providers:**
| Provider | Path |
| -------------- | ----------------------------------- |
| **Namecheap** | Domain List → Manage → Advanced DNS |
| **GoDaddy** | Domain → DNS |
| **Cloudflare** | DNS → Records (use DNS-only mode) |
## Step 3: Verify the connection
DNS propagation usually takes a few minutes but can take up to several hours. Once propagation completes:
1. Go back to the Faces dashboard
2. Click **Refresh** to check the connection status
3. Once verified, your domain is live
## Subdomains
In addition to custom domains, you can customize your Faces subdomain. For example, change `ocean-falcon-42.faces.site` to `my-brand.faces.site`. Edit this in the **Manage domains** section.
Faces handles SSL certificates automatically, so there is no need to buy or configure them separately.
## Step 2: Add the DNS records
After connecting, Faces shows a Domain Setup screen with the DNS records you need to add. These may include A records, CNAME records, or TXT records for verification.
1. Log in to your domain provider (Namecheap, GoDaddy, Cloudflare, etc.)
2. Go to your domain's DNS settings
3. Add each record exactly as shown in the Faces dashboard
4. Save your changes
**Where to find DNS settings in common providers:**
| Provider | Path |
| -------------- | ----------------------------------- |
| **Namecheap** | Domain List → Manage → Advanced DNS |
| **GoDaddy** | Domain → DNS |
| **Cloudflare** | DNS → Records (use DNS-only mode) |
## Step 3: Verify the connection
DNS propagation usually takes a few minutes but can take up to several hours. Once propagation completes:
1. Go back to the Faces dashboard
2. Click **Refresh** to check the connection status
3. Once verified, your domain is live
## Subdomains
In addition to custom domains, you can customize your Faces subdomain. For example, change `ocean-falcon-42.faces.site` to `my-brand.faces.site`. Edit this in the **Manage domains** section.